Even the most conscientious of home cooks will find that over time, their kitchens can become cluttered. When you walk into your kitchen, do you see too much stuff on the counters? When you open a drawer, do you have to rummage around to find what you want? Is removing a plate or bowl from a cupboard a difficult balancing act?
A couple of times a year, it’s a worthwhile exercise to go through the contents of your kitchen and get rid of what you don’t need, and better organize what’s left at the end of your purge. What better time than at the start of a new year, after the hustle and bustle of holiday entertaining? Set aside a day to do a thorough job, and let’s get started!
Decluttering Supplies
Do some advance planning so that you won’t hit a roadblock when you don’t have what you need to finish your decluttering job in one day. There’s nothing more dispiriting than waking up to a massive mess in your kitchen the next day! Start by looking inside your drawers and cupboards to see if you will need some new organizers such as cutlery trays or shelf risers, and get those items before Decluttering Day. Have cleaning supplies, including microfiber cloths and cleaning solution ready to use, and grab some cardboard boxes for items you’re getting rid of.
Pulling Everything out
The reality of decluttering is that things are going to look a lot worse before they get better. That’s because the first thing you have to do is pull everything out before you can edit and organize. It’s best to do one cabinet or drawer at a time so that you have room to spread stuff out before proceeding. If you tried to do everything all at once, you’d quickly run out of flat surfaces and get completely overwhelmed with the sheer volume!
You don’t want to have to go back and forth too much while clearing things out. Start by giving yourself lots of room on the closest counter or table, and then remove the contents, spreading them out so you can see everything. But don’t start making decisions yet!
Now that the drawer or cabinet is empty, grab your vacuum cleaner and get rid of the debris that inevitably accumulates over time. Then, wipe down the surfaces with a clean, damp cloth. It’s a nice idea to use a pleasantly scented cleaner, maybe lemon or lavender, to really freshen things up. Now you’re ready to turn your attention to the stuff you’ve got piled on the counter.
Editing
It really doesn’t take long for too much stuff to accumulate, even in the best-managed kitchen. After all, how many home cooks have the discipline to discard an old piece of cookware or utensil when bringing home something new? Now is your chance to make up for that!
Start by setting out three cardboard boxes or plastic bins right next to where you’re working, but not on the counter. Label one “Store”, another “Discard”, and the last “Dispose”. That way, items will be out of your way as soon as you’ve made the decision to remove something. You will start to see the clutter dissipate as you go, which will make it easier for you to see the progress that you’re making!
If you have two or more of a certain item, take a moment to decide which one is worth keeping. For instance, if you have both a y-head peeler and a straight swivel peeler, think about which one you prefer using on a regular basis. Put that one to one side on the counter, and the other straight into the “Discard” box. Also put anything that you hardly ever use in there.
At the same time, start placing things you only use a few times a year, such as Christmas cookie cutters or cherry pitters, into the “Store” box. We’ll come back to them later.
As well, have a pen and paper close to hand so that you can jot down a list of items you need to buy. The decluttering process is an opportunity to evaluate your current equipment and see what needs replacing. Rusted, dented or chipped items should be placed into the “Dispose” box.
Once you’ve gone through everything on the counter, you should have a more manageable number of items left! Because you’ve cleaned the cupboard or drawer at the beginning of the process, it should be clean, dry, and fresh-smelling now, and ready to take back its contents.
Organizing
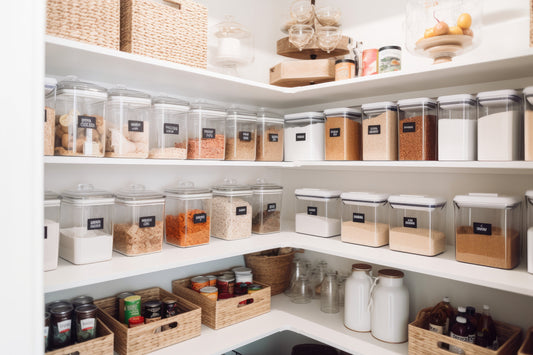
Before you even start to move stuff back, start by arranging everything on the counter into piles of similar items. If you bought new shelf risers or trays, now is the time to set them in place on the shelves or in the drawer. Then, place items back in logical groupings.
As you work through your cabinets and drawers, you may well discover that you need additional items for organizing. For instance, if you have a collection of assorted small appliances such as a sous-vide wand, stick blender, and hand mixer, placing them all in one large basket or bin can make it easier to keep things neat. All you have to do is pull out the basket to find what you want. You might even place a smaller container within the larger one to corral small attachments for an even more organized solution! If you don’t have anything on hand to use, add it to your shopping list, and just pop everything into a cardboard box on the shelf for the present.
Consider using narrow, long baskets or bins in a deep drawer to keep pot lids upright, or to organize small roasting and cooling racks. If you have to stack pots and pans on a shelf or in a drawer, place a silicone or cloth mat between them to prevent scratches. Of course, vertical wire racks are the perfect solution for storing cookie sheets and sheet pans without stacking them up, and are a good way to use awkward corner cabinets to their best advantage.
When organizing plates and bowls, shelf risers are a great way to prevent your stacks of crockery from getting too tall. Risers can also double the storage space in your glass and mug cupboards without having to stack those items on top of each other.
Back to the Boxes
The “Dispose” box is easy. Throw out what’s no longer usable by anyone.
Now, turn your attention to the “Discard” box. This will have all your perfectly good extras, or anything that you were gifted with or bought that, while still in good condition, you really don’t use. While you could just close the box up and donate the whole lot, if you go into the process with the mindset that you’re going to donate everything right away, you’ll probably end up hanging on to too many things “just in case”.
Instead, close up the “Discard” box, and put it somewhere out of the way. Date it, and then leave it there. If you need something at any point, just get it out and find room for it in your kitchen. However, a year later, take what’s left and drop it off at Goodwill. You’ll have survived a whole year of special events and seasonal cooking tasks without using those items.
Finally, remember your “Storage” box? After all, there’s no reason for seasonal items to take up valuable space in the kitchen year-round. Gather up some sturdy boxes that will keep everything safe and unbroken, and fill each one up with stuff that all gets used at the same time. Label them clearly (Christmas, Canning, Easter), and find a place for them out of the way. A high shelf in a closet, or a spot in the basement or garage, will let you find them when you need them, but keep them out of your way the rest of the year.
The Final Decluttering Challenge: Countertops
Now that your cupboards and drawers have been edited and organized, it’s time to take on the most visible source of clutter in your kitchen: the countertops.
If you scroll through Instagram, you tend to see two extremes in countertop culture. There’s a trend with some influencers to decorate their counters with lamps, pictures, or decorative touches such as busts or vases on stacks of books. At the other extreme are minimalist kitchens with the countertops kept completely bare. There’s probably a happy medium for most people, with items and appliances used daily kept out, while everything else has an assigned spot in one of the cupboards or drawers. The good news is that having cleared out and organized those spaces, you can probably accommodate things currently taking up room on the counters!
If you want to invest money in appliance garages or shelf lifts for bulky or heavy appliances, there are plenty of options out there. But even without expensive fixes, there are easy ways to clear your counters of all but the most essential appliances.
Start with those kitchen workhorses, your small appliances. Those typically include microwaves, toasters, toaster ovens, blenders, coffee makers and stand mixers. That list all on its own could take over all the counters in a small kitchen, leaving you with little work space! Even in a larger kitchen, they start to create a lot of visual clutter as they accumulate. And with the increasing popularity of trendy “must-have” appliances such as air fryers and multi-cookers, it gets even worse.
Think about how often you use each appliance. For instance, if you only use your multi-cooker once a week or so, you can stow it away in a cupboard or pantry and only bring it out when it’s actually in use. On the other hand, if you use your blender every morning to whip up a breakfast smoothie, finding a spot for it on the counter makes sense. If you have a stand mixer that is too heavy to easily move around, a deep corner of a counter is a great way to keep it out of the way and yet easily accessible.
Many people set up separate coffee stations away from the main counters, and if that works for you, moving your coffee maker out of the way can free up a lot of space. Also consider switching to a pour-over system that can easily find a home in a cupboard.
Knife blocks are often considered an essential, but that block on the counter can be replaced by an in-drawer knife organizer. Utensils can also be stored in drawers, but an attractive crock is an on-counter option that will add some visual interest while controlling the clutter at the same time. Instead of a bread box, why not dedicate a drawer beneath the toaster to that purpose?
Finally, stay on top of clutter by putting things away when you’re finished with them. The best organizing system in the world won’t work without some effort on your part!
Upgrading
Now that you’ve worked your way through all of your kitchen equipment, you probably have found that some things could do with an upgrade. Instead of hanging on to cookware that doesn’t meet your needs, consider investing in some new pieces that will last for a lifetime.
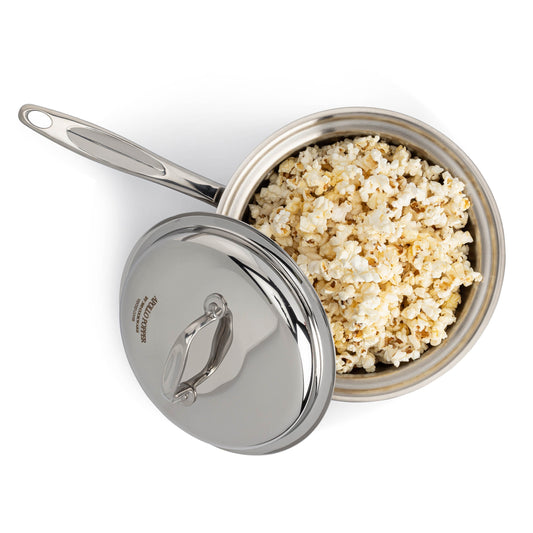
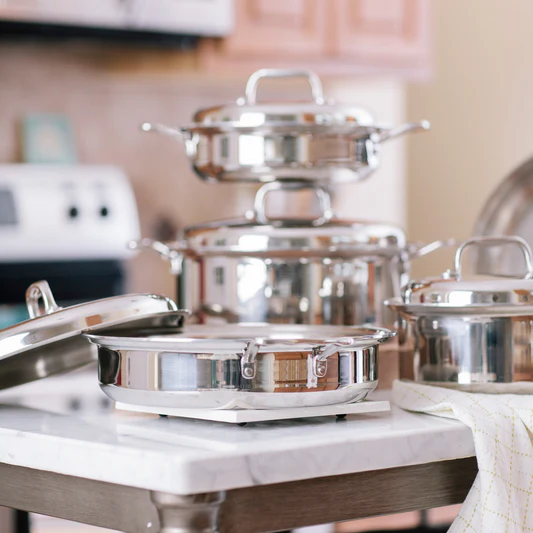
Pots and pans with non-stick coatings will degrade over time, even when treated with care, making them more likely to release toxins into your food while at the same time not performing as well as they did when new. It’s time to clear that clutter out of your kitchen and upgrade to quality stainless steel pieces from 360 Cookware.
Don’t just add these new pots and pans to your existing inventory: for each new piece you bring in, dispose of at least one current item. You’re not going to miss them when you find out how well 360 Cookware performs!
And Do It All Over Again
Once your decluttering is done, don’t resist the temptation to open your cupboards and drawers and delight in the new look of your well-organized kitchen! But don’t rest on your laurels, because decluttering isn’t a one-and-done deal. Whenever you feel things getting away from you, it’s time to go through the whole process again. A once-a-year decluttering session is a good idea to keep your kitchen operating at peak efficiency.


